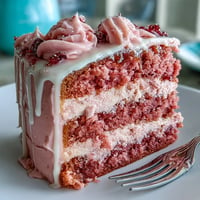
 Pin It
 My sister texted me three weeks before graduation asking if I could make something special for her open house, and honestly, cake pops felt like the answer the moment she said it. There's something about watching a simple baked cake transform into these jeweled little spheres that feels like actual magic, especially when you're dipping them in your school colors and they emerge gleaming with gold. I'd never made them before, but the idea of something so personal and celebratory—something you can hand to someone and they immediately get it—pulled me into the kitchen that Saturday morning. The whole project takes about two hours from start to finish, but the real joy comes in that moment when you're standing over a Styrofoam block watching them set, suddenly looking like tiny edible trophies.
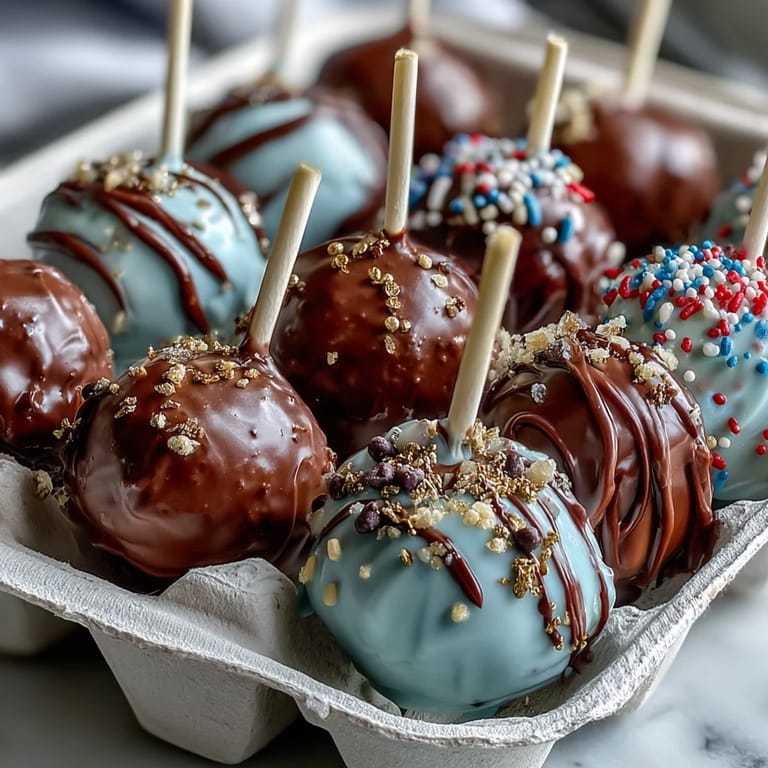
The real test came when I made a trial batch and brought them to my sister's work. She lined them up on her desk like she was curating an art exhibition, and I watched coworkers who barely knew her pick them up just to admire them before eating. That's when I realized these aren't just cake pops—they're conversation starters and keepsakes all at once.
Ingredients
- Vanilla or chocolate cake mix (1 box, about 400 g plus box ingredients): Start here because a good foundation matters; I learned that boutique cake mixes sometimes behave differently, so stick with a trusted brand your first time.
- Unsalted butter (1/2 cup, softened): Room temperature is non-negotiable here—cold butter won't whip properly and your frosting will be grainy.
- Powdered sugar (1 1/2 cups): Don't skip the sifting; lumps are your enemy when you're trying to achieve that smooth, spreadable consistency.
- Milk (1 tablespoon): This keeps the frosting workable without making it too soft; sometimes I use cream instead for a richer bind.
- Vanilla extract (1 teaspoon): Use pure extract, not imitation—it makes a noticeable difference in flavor.
- Salt (a pinch): This tiny amount balances the sweetness and deepens the vanilla notes.
- Candy melts in two school colors (450 g total): These are easier to work with than chocolate because they don't require tempering, and they set cleanly—a genuine game-changer for beginners.
- Vegetable shortening or coconut oil (2 tablespoons, optional): This makes the candy melts thinner and silkier for dipping; I skip it sometimes and the pops still turn out fine, but the coating is thicker.
- Gold sprinkles or edible gold glitter: Apply while wet, or they'll slide right off—I learned that the hard way.
- Lollipop sticks (24): Get food-grade sticks; cheap ones can splinter or taste woody.
- Styrofoam block: Essential for the drying phase; it's the only thing that won't topple your pops over.
Tired of Takeout? 🥡
Get 10 meals you can make faster than delivery arrives. Seriously.
One email. No spam. Unsubscribe anytime.
Instructions
- Bake your cake:
- Follow the package directions exactly and let it cool all the way down—patience here prevents a melting mess later. I bake mine the day before and leave it uncovered on the counter overnight so it dries out slightly, which actually makes the crumbling easier.
- Whip up the frosting:
- Beat the softened butter for a full minute until it's pale and fluffy, which aerates it and makes the whole mixture lighter. Add powdered sugar slowly while mixing, then milk, vanilla, and salt, beating until you can't see any streaks of white.
- Combine cake and frosting:
- Crumble the cool cake into a bowl and start folding in frosting gradually—you want a mixture that just barely holds together when you squeeze it. Too much frosting and your pops become dense; too little and they'll crumble when you dip them.
- Roll and chill the balls:
- Roll each portion into a ball about the size of a walnut, then line them on parchment and refrigerate for an hour—this is the secret to preventing collapse during dipping. Some people freeze for 30 minutes instead, which works too, but I prefer the longer chill because it's more forgiving.
- Stick them securely:
- Melt just enough candy melts to coat the stick tip, then insert it halfway into each ball and let it set for a few minutes. This adhesive step is what keeps your pops from spinning or sliding off during the final dip.
- Dip into color:
- Melt your school colors separately and keep them warm but not scorching; dip each pop into your first color, let excess drip off, and transfer to the Styrofoam. If your candy gets too thick, that little bit of shortening becomes your best friend.
- Go for the gold:
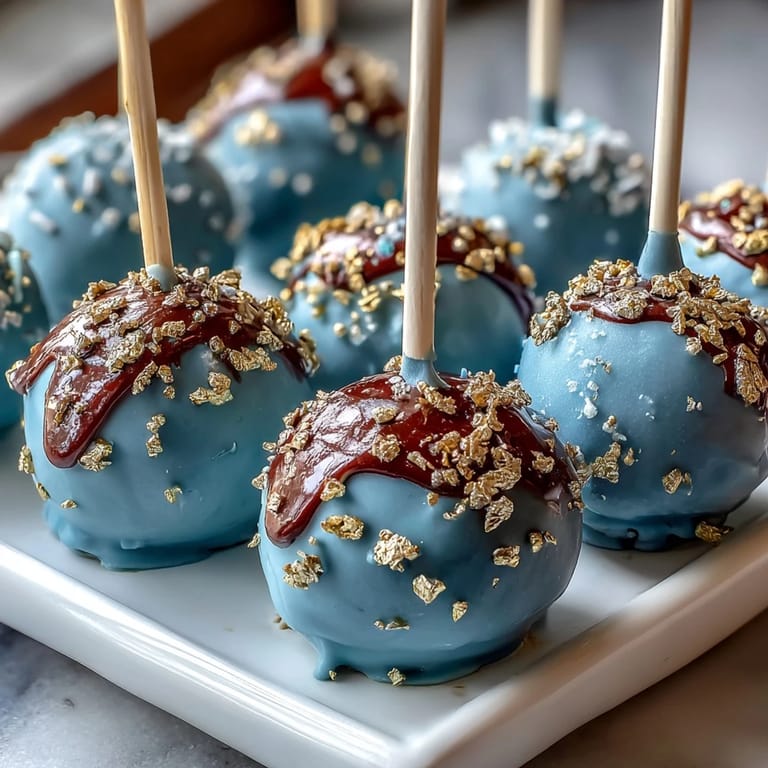
- While the coating is still tacky and wet, sprinkle generously with gold—this is your moment to make them shimmer. The coating hardens quickly, so work in batches if you need to.
- Let them set:
- Stand them upright in the Styrofoam block and give them at least an hour to harden completely before moving or packaging them.
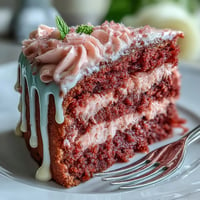
 Pin It
 My favorite part happened when I delivered them to my sister's house and watched her arrange them in a tiered stand. She paired them with photos from their four years together, and suddenly these little cake pops weren't just dessert anymore—they were tangible proof that we'd celebrated something important together.
School Colors That Work Best Together
I've made batches in navy and gold, forest green and white, crimson and cream, and each combination hit differently. The key is making sure one color is darker so the gold sprinkles actually pop visually—if you use two light colors, the gold gets lost. Some schools have three colors, and I've alternated between them, which looks stunning but requires more dipping bowls and more focus to keep things organized.
The Day-Of Timeline That Actually Works
If you're making these for an event, bake the cake the day before to buy yourself peace of mind. On the morning of, mix frosting, combine everything, chill for an hour, then start dipping around midday—this gives you buffer time if something takes longer than expected. I've found that working in batches of eight pops at a time keeps you from getting overwhelmed and lets the Styrofoam block stay balanced.
Storage and Gifting Ideas
These hold up beautifully at room temperature for three days or in the fridge for a week, which means you can prep them early without stress. I've packaged them in clear cellophane bags tied with ribbon, tucked them into small gift boxes with tissue paper, and even stacked them in tiered stands for open houses—they photograph incredibly well and people genuinely remember them.
- Keep them in an airtight container once they're fully set so they don't absorb odd flavors or humidity from the fridge.
- If you need to transport them, pack them in a sturdy box with parchment between layers so they don't bump into each other.
- Try adding small ribbon bows in school colors around each stick for an extra polished look that takes just five minutes.
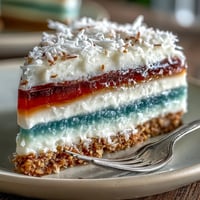
 Pin It
 These cake pops became such a meaningful part of my sister's graduation that she saved the leftover box and took photos of it for her yearbook memories. Sometimes the simplest homemade gifts turn into the ones people actually treasure.
Recipe FAQs
- → What cake flavors can I use for these pops?
You can choose vanilla or chocolate cake mix, or try any flavor you prefer to match your celebration theme.
- → How do I ensure the coating sticks well to the cake balls?
Chilling the cake balls thoroughly before dipping helps the coating adhere smoothly and prevents them from falling apart.
- → Can I substitute gold sprinkles with other decorations?
Yes, edible glitter or colored sprinkles can be used to customize the pops to your desired style.
- → Is it necessary to use vegetable shortening in the candy melts?
Adding vegetable shortening is optional but can create a smoother, shinier coating and easier dipping.
- → How should these pops be stored to maintain freshness?
Store in an airtight container at room temperature up to 3 days or refrigerate up to a week to keep them fresh.