Pin It
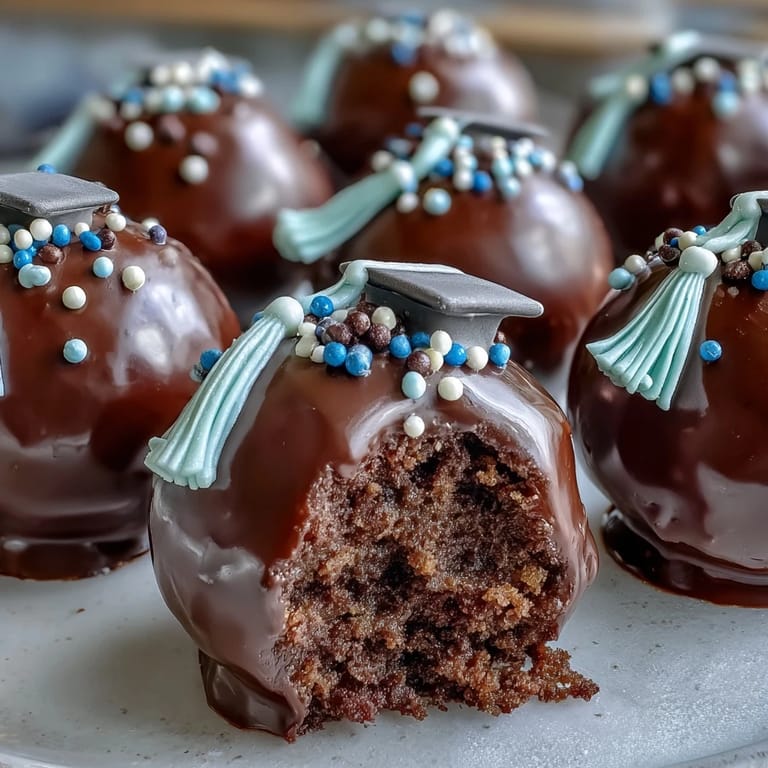
 The first whiff of freshly baked cake always reminds me of bustling kitchens before big celebrations. When I made graduation cake pops for my cousin's party, I found myself humming along to her favorite playlist, feeling the excitement build with every step. It's funny how assembling these pops felt more like crafting than baking, especially when I mixed in the brightly colored candy melts. There was something playful about shaping each pop and deciding which sprinkle best matched the school colors. The anticipation in decorating made the kitchen feel festive long before guests arrived.
One afternoon, my niece joined me to roll the cake balls before her graduation. We found ourselves competing for the prettiest decoration, laughing as a few cake pops ended up with lopsided fondant caps. It turned out the edible glitter made everything sparkle, even the ones we thought looked a little wonky. Sharing the kitchen that day turned the recipe into a memory—her friends still ask about the 'sparkle pops' years later.
Ingredients
- Vanilla or Chocolate Cake Mix: Using a box mix streamlines prep, and I learned to let it cool completely before crumbling to avoid sticky balls.
- Cream Cheese or Buttercream Frosting: Just enough brings the crumbs together—too much can make the pops too soft, so add it carefully.
- Candy Melts in School Colors: These bring the celebratory vibe (& bonus: they set super fast), but sometimes I use white chocolate and gel coloring for extra flexibility.
- Vegetable Shortening: A touch smooths the chocolate coating for a glossy finish—especially helpful if the melts clump up.
- Sprinkles, Edible Glitter, Colored Sugar: The fun part—choose what matches the grad's style or the school palette.
- Lollipop Sticks: Essential for the look and for easy serving; I found fancy colored sticks elevate the presentation.
- Mini Chocolate Chips: I use these for tassels or little accents, attached with a dot of melted chocolate.
- Fondant: Great for cap decorations, but optional—sometimes I cut squares from chocolate or colored candy instead.
Tired of Takeout? 🥡
Get 10 meals you can make faster than delivery arrives. Seriously.
One email. No spam. Unsubscribe anytime.
Instructions
- Bake & Cool the Cake:
- Follow the instructions for your chosen cake recipe or box mix, and don't rush the cooling process—a warm cake is impossible to crumble neatly.
- Make Cake Crumbs:
- Break the cake up in a big bowl, rubbing until the pieces resemble sand and there's no chunk bigger than a pea.
- Add Frosting:
- Mix with your hands or a spatula so no dry crumbs remain, but pause once the mixture sticks together—adding too much frosting softens the pops.
- Shape Cake Balls:
- Measure out tablespoon portions and roll them smooth; I line them up on parchment so they stay round as they rest.
- Chill the Balls:
- Refrigerate or freeze the cake balls until firm to touch—this prevents sliding on the sticks later.
- Melt Chocolate Coating:
- Microwave candy melts in short bursts, stirring often; add shortening if needed for a dippable consistency.
- Insert Sticks:
- Dip each stick tip in melted chocolate, then gently push halfway into each ball—this acts like glue to set the stick in place.
- Dip & Coat Pops:
- Swirl each pop in coating, tap gently to remove excess, and avoid over-handling which can cause cracks.
- Decorate While Wet:
- Add sprinkles, glitter, or sugar right away; for cap designs, stick on a fondant square and mini chocolate chip tassel before the coating sets.
- Let Pops Set:
- Stand each pop upright in a styrofoam block so gravity doesn't ruin your design, and let the coating harden completely before moving.
 Pin It
 The day these cake pops were served at graduation, I noticed people starting conversations just by comparing decorations. A treat designed for a moment made the celebration feel personal—parents and grads alike smiled at their edible diplomas.
How to Get Bold Colors
Sometimes store-bought candy melts don't match the school hues exactly, so I learned to use white chocolate and add gel coloring little by little. Wearing gloves helps avoid coloring my hands, especially when handling fondant.
Serving & Storing Tips
Once the pops are set, storing them upright in an airtight container keeps them beautiful and moist for days. Refrigeration gives a firmer bite, but serving at room temperature preserves the soft cake texture.
Last Minute Decoration Hacks
If you run out of fondant or sprinkles, mini chocolate chips or thin strips of colored candy will pinch hit for tassels or accents. Don't stress about perfection—no two cake pops ever look the same, and that's part of their charm. Quick improvisation always leads to new favorites.
- If the coating cracks, patch with a little extra melted chocolate and a sprinkle.
- For extra shine, brush the set pops lightly with edible glitter.
- If transporting, poke sticks through plastic wrap in the styrofoam block to keep pops safe.
 Pin It
 Cake pops always bring smiles, but making them with someone you care about turns a recipe into a memory. Whether you use school colors or just your favorites, celebrate with bold decorations and laughter in the kitchen.
Recipe FAQs
- → How can I customize these pops to match my school's colors?
Use colored candy melts or white chocolate with food coloring, and choose sprinkles and fondant accents in your chosen hues.
- → Can I make them gluten-free?
Yes, use a gluten-free cake mix and check all ingredient labels. Decorations should also be gluten-free.
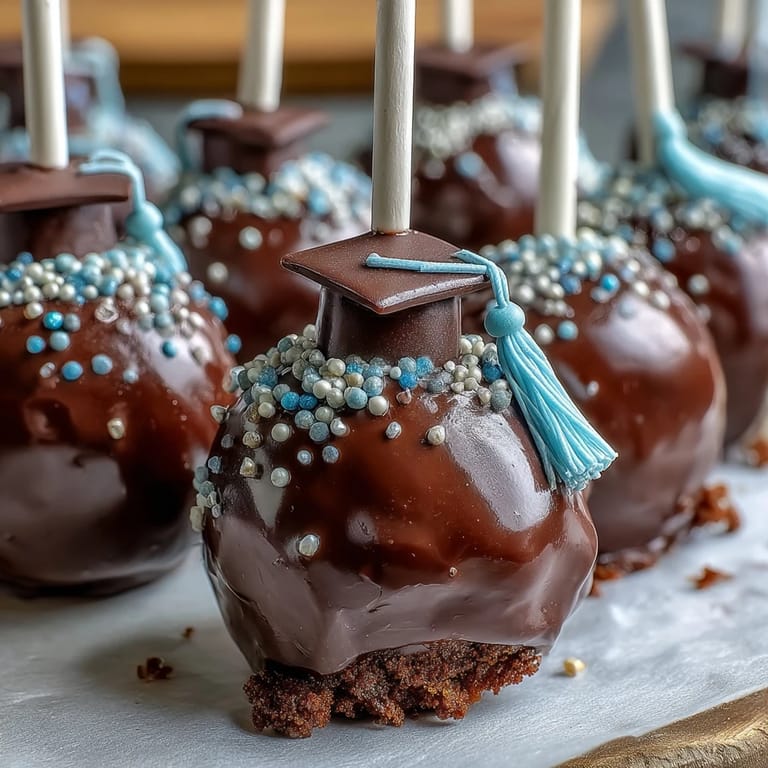
- → How do I shape the graduation caps?
Press a fondant square on top and attach a mini chocolate chip for the tassel using a dab of melted chocolate.
- → How long do cake pops stay fresh?
Store in an airtight container for up to 3 days at room temperature or refrigerate for up to a week.
- → What tools are needed to make cake pops?
You'll need mixing bowls, a baking sheet, lollipop sticks, a microwave-safe bowl, and a styrofoam block or cake pop stand.
- → Can I write the graduation year on the pops?
Yes, use edible food markers to gently write the year on fully set cake pops for personalized decoration.
- → Is it possible to use homemade cake instead of boxed mix?
Absolutely, a homemade 9-inch cake works perfectly. Just ensure it is cooled before crumbling.