 Pin It
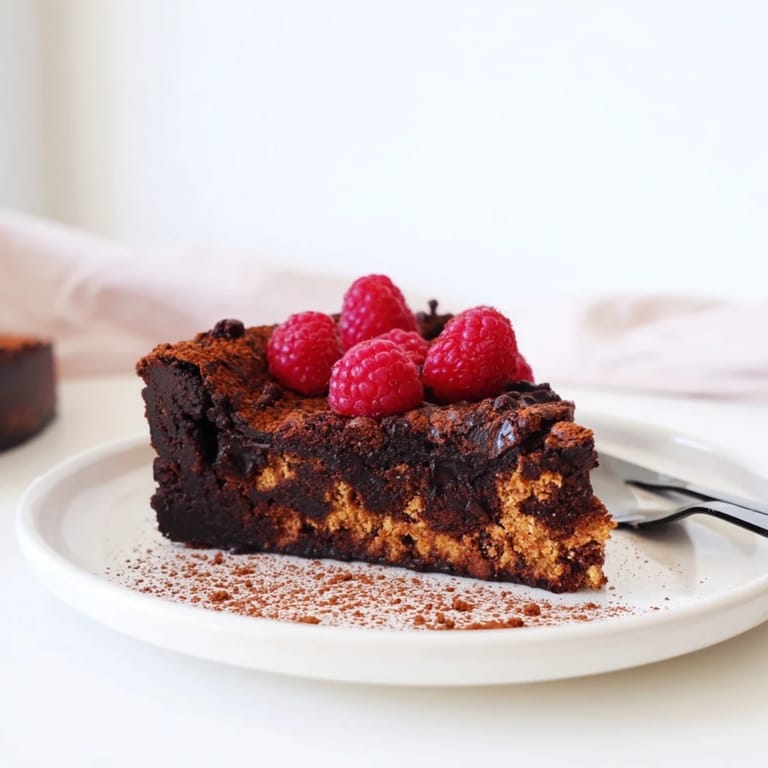
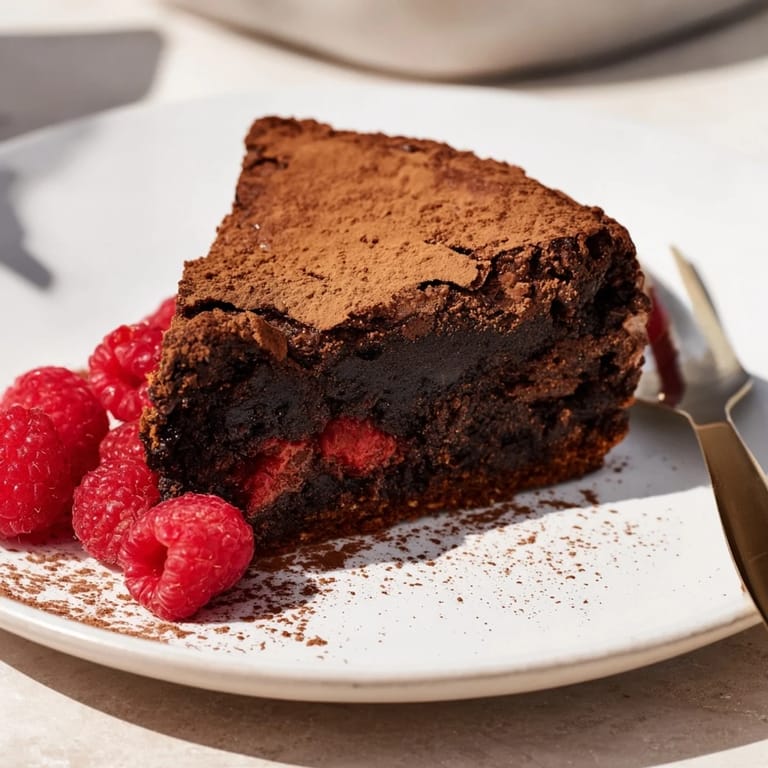
 I stumbled onto this brownie tart one Sunday afternoon when I had leftover tart dough and a serious chocolate craving. The idea of pouring fudgy brownie batter into a buttery shell felt almost rebellious, like breaking two dessert rules at once. When it came out of the oven with those crackled edges and that soft, glossy center, I knew I'd never go back to plain brownies. My sister tried a slice and went quiet for a full minute before asking for the recipe. That's when I realized this wasn't just dessert, it was a conversation stopper.
I made this for a dinner party once and forgot to tell anyone it was homemade. People kept asking where I bought it, and I let them guess for a while before confessing. One friend said it tasted like the best parts of a brownie and a chocolate tart had a love child, which is still the best compliment I've ever received in a kitchen. Now I bake it whenever I want to feel like I have my life together, even when I absolutely don't.
Ingredients
- All-purpose flour (tart shell): This gives the crust structure without making it tough, and chilling the dough after mixing keeps it tender and flaky.
- Powdered sugar: It dissolves quickly into the dough and adds a subtle sweetness that balances the dark chocolate filling beautifully.
- Cold unsalted butter (tart shell): Cubing it cold and working it in fast creates those little pockets that make the crust crisp and buttery, not greasy.
- Egg yolk: This binds the dough gently without adding too much moisture, and it gives the baked shell a golden color.
- Dark chocolate (70% cocoa): The higher cocoa content brings deep, bittersweet flavor that doesn't taste cloyingly sweet, and chopping it helps it melt evenly.
- Unsalted butter (filling): Melted with the chocolate, it creates that glossy, fudgy texture that sets soft instead of cakey.
- Granulated sugar and brown sugar: The mix gives you sweetness plus a hint of molasses depth, which makes the filling taste richer and more complex.
- Eggs (filling): They hold everything together and give the brownie that signature crackly top when baked just right.
- Pure vanilla extract: A teaspoon might seem small, but it rounds out the chocolate and makes the whole tart smell incredible.
- Salt: Just a pinch cuts through the sweetness and makes the chocolate flavor pop without tasting salty.
- All-purpose flour (filling): A half cup is just enough to give structure without drying out the fudgy center.
Tired of Takeout? 🥡
Get 10 meals you can make faster than delivery arrives. Seriously.
One email. No spam. Unsubscribe anytime.
Instructions
- Preheat and Prep:
- Set your oven to 350°F and grease your tart pan lightly so the shell releases cleanly later. This step feels obvious, but I've forgotten it more than once and regretted it every time.
- Make the Tart Shell:
- Whisk the flour, powdered sugar, and salt together, then rub in the cold butter until it looks like wet sand. Add the egg yolk and a tablespoon of cold water, mixing just until it clumps together, then chill the dough for 15 minutes so it doesn't shrink when you bake it.
- Roll and Blind Bake:
- Roll the dough out on a floured surface and press it into the pan, trimming any overhang. Prick the base with a fork, line it with parchment and pie weights, then bake for 15 minutes before removing the weights and baking 5 more minutes until it's lightly golden.
- Melt the Chocolate and Butter:
- Set a heatproof bowl over simmering water and stir the chopped chocolate and butter until they melt into a smooth, glossy pool. Let it cool slightly so the eggs don't scramble when you add them.
- Mix the Brownie Filling:
- Whisk both sugars, eggs, vanilla, and salt into the melted chocolate until it's silky and combined. Fold in the flour gently, stopping as soon as you don't see streaks, because overmixing kills that fudgy texture.
- Fill and Bake:
- Pour the brownie batter into the cooled tart shell and smooth the top with a spatula. Bake for 18 to 20 minutes, pulling it out when the edges are set but the center still jiggles slightly, because it will firm up as it cools and overbaking turns it dry.
- Cool and Garnish:
- Let the tart cool completely on a wire rack before dusting it with cocoa powder or powdered sugar. Slice it clean with a sharp knife and serve with berries or whipped cream if you're feeling fancy.
 Pin It
 The first time I brought this to a potluck, someone asked if I'd trained in pastry school. I laughed and said no, I just followed the steps and trusted the process. That moment reminded me that good food doesn't need a fancy pedigree, it just needs a little care and the willingness to try something new.
Storage and Make-Ahead Tips
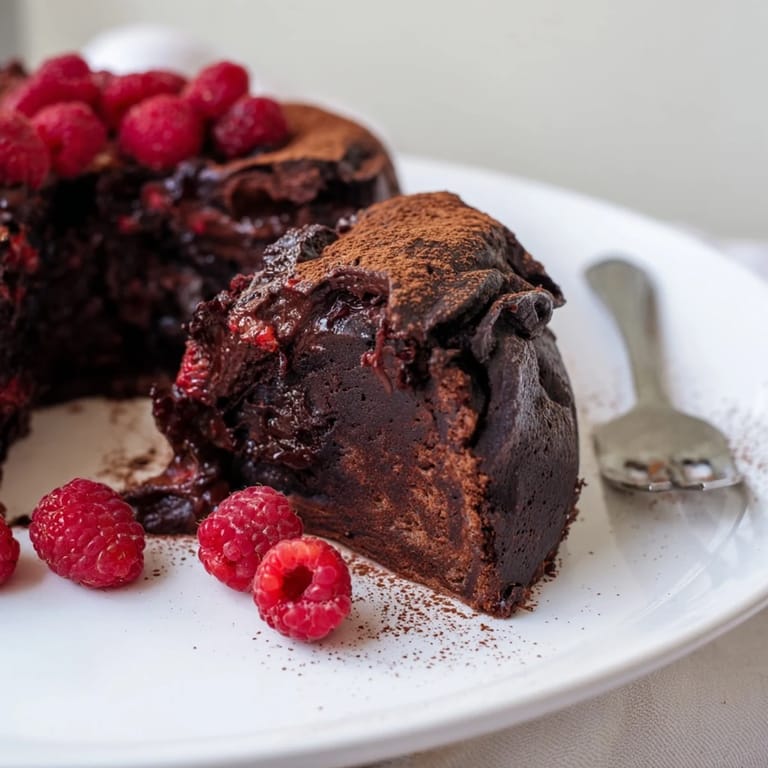
You can bake the tart shell up to two days ahead and store it in an airtight container at room temperature, which saves you time on the day you need it. The filled tart keeps well in the fridge for up to three days, and it actually tastes even fudgier cold, almost like a truffle. I sometimes make it the night before a gathering and let it chill overnight, which makes slicing easier and gives the flavors time to settle.
Serving Suggestions
A dusting of cocoa powder or powdered sugar makes it look elegant without any effort, and fresh raspberries add a tart pop that cuts through the richness. I've served it with vanilla ice cream, whipped cream, or even a drizzle of salted caramel when I'm feeling extra. Sometimes I just slice it plain and let the chocolate speak for itself, because honestly, it doesn't need much help.
Customization Ideas
If you want to add texture, fold in half a cup of dark chocolate chips or chopped toasted hazelnuts before baking, which gives every bite a little surprise. You can swap the dark chocolate for semi-sweet if you prefer something sweeter, or use espresso powder to deepen the chocolate flavor without adding coffee taste. For a gluten-free version, use a one-to-one gluten-free flour blend in both the shell and the filling, and no one will know the difference.
- Add a pinch of flaky sea salt on top right before serving for a sweet-salty contrast that makes people swoon.
- Try mixing in a tablespoon of bourbon or rum into the filling for a grown-up twist that smells amazing while baking.
- Garnish with candied orange peel or fresh mint leaves if you want to impress without doing much extra work.
 Pin It
 This tart has become my go-to whenever I want to feel like a real baker without spending all day in the kitchen. It's rich, it's beautiful, and it never fails to make people happy, which is all I ever want from dessert anyway.
Recipe FAQs
- → How do I ensure a crisp tart shell?
Use cold butter and minimal water when mixing dough, chill before rolling, and prebake with pie weights to prevent shrinking.
- → Can I substitute ingredients?
Yes, substitute gluten-free flour for all-purpose to make a gluten-free version, and consider nuts for added texture in the filling.
- → How do I melt chocolate for the filling?
Melt chocolate and butter gently over simmering water or microwave in short bursts, stirring to ensure smoothness without scorching.
- → What is the best way to check tart doneness?
Edges should be set while the center remains slightly soft; the filling continues to set as it cools for a fudgy texture.
- → How can I enhance flavor and presentation?
Dust with cocoa or powdered sugar and garnish with fresh berries or whipped cream to complement the rich chocolate.