 Pin It
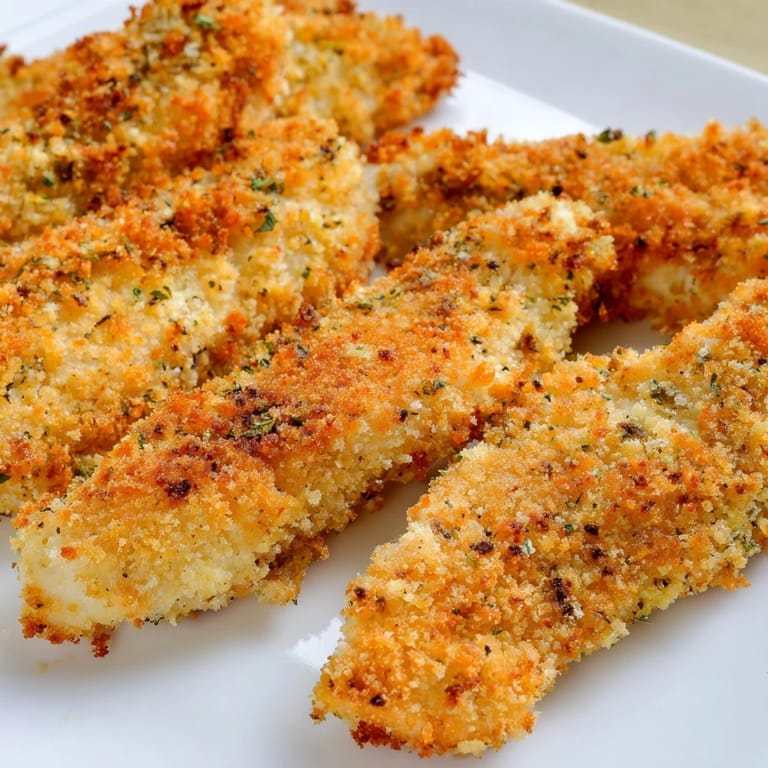
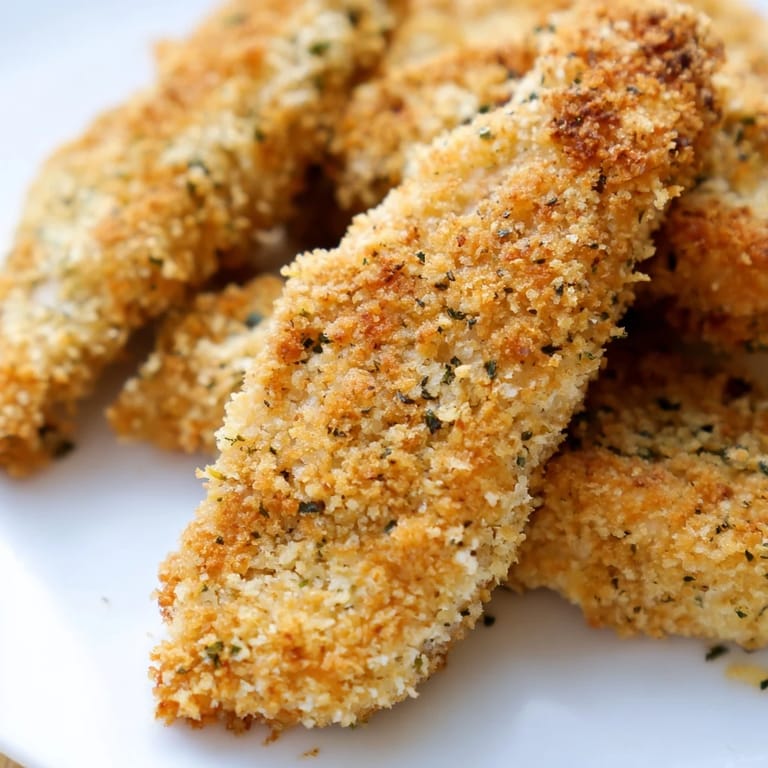
 My kids used to beg for fast food chicken strips every Friday until I started making these at home. The first batch came out so golden and crunchy that my youngest refused to believe they were baked, not fried. Now Friday nights smell like garlic and paprika instead of drive-through grease. I love how the panko stays shatteringly crisp while the chicken inside turns tender and juicy. Its become our unofficial family tradition, and honestly, I dont miss the takeout at all.
I remember the first time I served these at a casual Sunday gathering with neighbors. Everyone kept asking if I had a deep fryer hidden somewhere because the coating was that crispy. One friend even texted me the next day asking for the recipe after her kids wouldnt stop talking about them. That moment made me realize how something this simple could feel special. Its amazing how a little panko and the right oven temperature can turn plain chicken into something people actually remember.
Ingredients
- Boneless, skinless chicken breasts or tenders (500 g): I prefer tenders because theyre already the right size and cook evenly, but breasts work great if you slice them into uniform strips.
- Salt (1/2 tsp) and black pepper (1/4 tsp): Simple seasoning on the chicken itself ensures every bite has flavor, not just the coating.
- All-purpose flour (100 g): This first layer helps the egg mixture stick properly, which is the secret to a coating that doesnt fall off.
- Large eggs (2) and mayonnaise (2 tbsp): The mayo adds richness and helps the panko adhere better than egg alone, plus it keeps the chicken moist.
- Panko breadcrumbs (120 g): Regular breadcrumbs will never give you the same shatteringly crisp texture that panko does, its worth seeking out.
- Dried Italian herbs (1 1/2 tsp): I use a blend of oregano, thyme, and basil for an all-purpose flavor that feels familiar and comforting.
- Garlic powder (1/2 tsp) and smoked paprika (1/2 tsp): These two add depth and a subtle smokiness that makes people wonder what your secret is.
- Cayenne pepper (1/4 tsp, optional): Just a pinch gives a gentle warmth without making them spicy, but skip it if youre cooking for little ones.
- Olive oil (2 tbsp): A light drizzle or spray before baking is what turns the panko golden and crispy instead of pale and sad.
Tired of Takeout? 🥡
Get 10 meals you can make faster than delivery arrives. Seriously.
One email. No spam. Unsubscribe anytime.
Instructions
- Prep your oven and pan:
- Preheat your oven to 220°C (425°F) and line a baking sheet with parchment paper, or better yet, set a wire rack on top for air circulation. The rack makes all the difference for crispiness on all sides.
- Prep the chicken:
- Pat the chicken completely dry with paper towels, then slice into strips about 2 cm wide so they cook evenly. Season both sides with salt and pepper right on the cutting board.
- Set up your breading station:
- Grab three shallow bowls and fill the first with flour, the second with eggs whisked smooth with mayonnaise, and the third with panko mixed with all the herbs and spices. Line them up in order so you can move quickly without mess.
- Coat each strip:
- Dredge a chicken strip in flour and shake off the excess, dip it into the egg mixture until fully coated, then press it into the panko mixture on both sides. I use one hand for wet ingredients and one for dry to avoid breading my fingers.
- Arrange and oil:
- Place each coated strip on your prepared baking sheet with a little space between them. Drizzle or spray the tops lightly with olive oil, which is the secret to getting that golden color.
- Bake and flip:
- Bake for 18 to 22 minutes, flipping the strips halfway through so both sides get crispy and golden. Theyre done when the internal temperature hits 74°C (165°F) and the coating looks deeply golden.
- Rest before serving:
- Let them cool on the pan for 2 to 3 minutes before serving. This short rest lets the coating set and become even crunchier.
 Pin It
 One evening my husband came home late and reheated a few strips in the oven while I was already in bed. The next morning he told me they were just as crispy as when they were fresh, maybe even better. That was the moment I realized these werent just a dinner recipe, they were a solution for busy weeks and packed lunches. Now I make a double batch every time and keep extras in the fridge without any guilt.
Serving Suggestions
These strips are incredibly versatile and work with almost any dipping sauce you love. I usually set out honey mustard, ranch, and a spicy sriracha mayo so everyone can pick their favorite. They pair beautifully with a simple green salad, roasted vegetables, or even tucked into a wrap with lettuce and tomato for an easy lunch. For drinks, a crisp Sauvignon Blanc or a cold lager complements the savory, herbed coating perfectly.
Storage and Reheating
Store any leftovers in an airtight container in the fridge for up to three days. When youre ready to reheat, skip the microwave and use your oven at 200°C (400°F) for about 8 minutes to bring back that crispy texture. I learned that microwaving turns them soggy and sad, so the oven is worth the extra few minutes. If you want to freeze them, let the strips cool completely, then freeze in a single layer before transferring to a freezer bag for up to two months.
Customization Ideas
This recipe is incredibly forgiving and easy to adapt based on what you have or what your family prefers. If you want a gluten-free version, swap in gluten-free panko and flour without changing anything else. For extra richness, toss a handful of grated Parmesan into the panko mixture before coating. Some nights I add a little lemon zest to the breading for a bright, fresh twist that feels almost restaurant-quality.
- Try swapping the Italian herbs for taco seasoning and serve with salsa and guacamole for a fun twist.
- Use Greek yogurt instead of mayonnaise in the egg mixture for a tangier, lighter coating.
- Add a tablespoon of nutritional yeast to the panko for a subtle cheesy flavor without dairy.
 Pin It
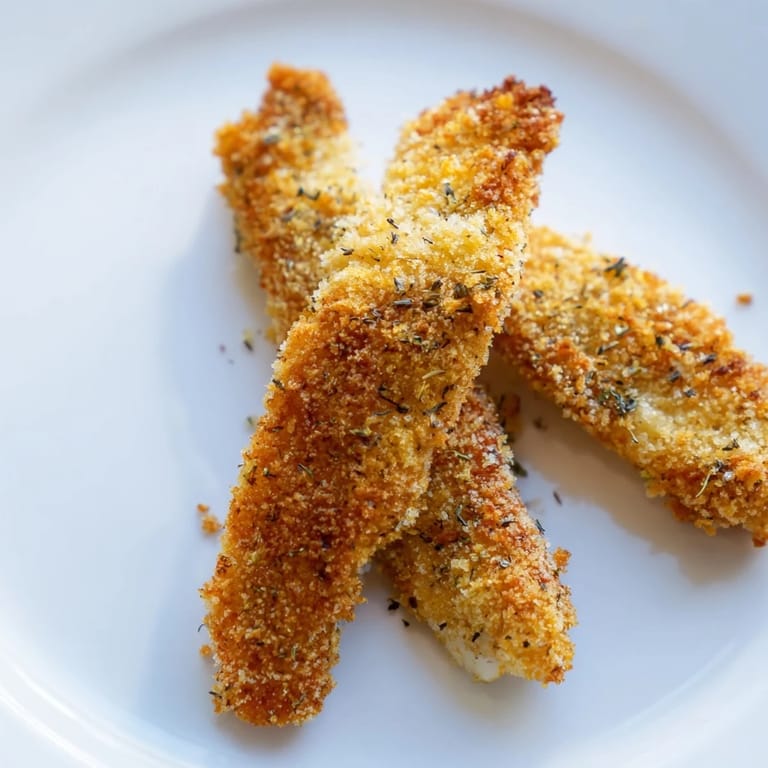
 These crispy panko chicken strips have earned a permanent spot in my weekly rotation, and I hope they do the same for you. Theyre proof that homemade can be easier, healthier, and way more delicious than anything from a box or a drive-through.
Recipe FAQs
- → How do I keep the panko coating extra crispy?
Use a wire rack on your baking sheet to allow air circulation underneath the chicken. Lightly drizzle or spray with olive oil rather than submerging, and flip halfway through baking. Let cool for 2-3 minutes after removing from the oven before serving.
- → Can I use chicken breasts instead of tenders?
Yes, boneless skinless chicken breasts work perfectly. Simply cut them into uniform strips about 3/4 inch wide to ensure even cooking. This helps the breadcrumbs crisp uniformly and the interior cooks through at the same rate.
- → What's the purpose of mayonnaise in the egg mixture?
Mayonnaise adds richness and helps the breading adhere better to the chicken while creating an extra-golden, crispy exterior. For a lighter option, substitute with Greek yogurt which provides similar binding properties with less fat.
- → How do I verify the chicken is fully cooked?
Use a meat thermometer to check that the internal temperature reaches 165°F (74°C). Alternatively, cut into the thickest piece—the meat should be opaque throughout with no pink remaining.
- → Can I prepare these ahead of time?
Yes, you can bread the strips and refrigerate them on a parchment-lined tray for up to 24 hours before baking. You can also freeze them for up to 3 months. Bake directly from frozen, adding 5-7 minutes to the cooking time.
- → What dipping sauces pair best with these strips?
Honey mustard, ranch, and spicy sriracha mayo are excellent choices. The crispy, herbed exterior also complements creamy garlic aioli, buffalo sauce, or a zesty lemon-herb yogurt dip depending on your flavor preferences.